This post contains affiliate links. Click here to see what that means! That being said, we only promote authors, products, and services that we use ourselves and wholeheartedly stand by. To learn more about how we earn money here on Autoimmune Wellness, head on over to our Promotional Policy.
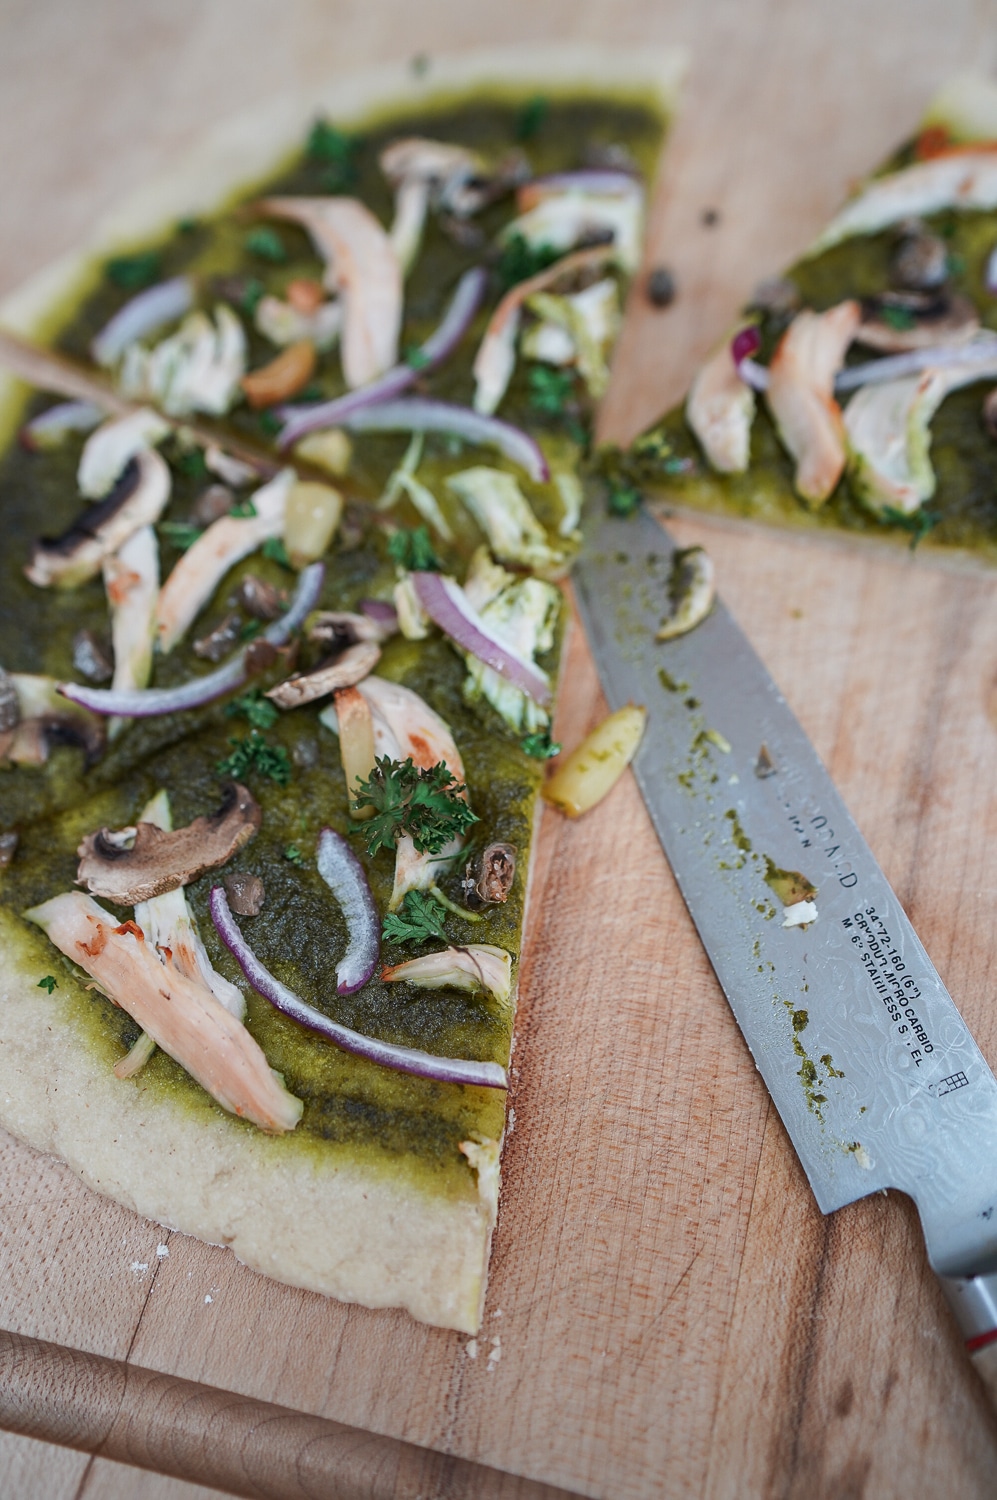
Traditional pizza is a trifecta of ingredients that cause a lot of us serious issues… gluten, dairy, and nightshades! You definitely don’t need any of those three ingredients to make a delicious pizza though, and today I’m going to show you how to use my AIP pizza dough base to create your own tasty meal.
Don’t be scared off by using yeast in this recipe – if you follow the instructions carefully, you’ll end up with a pizza dough that has a traditional flavor and rises a little bit too. This recipe makes two 11-inch pizzas, which serves 2-3 people. It is the perfect base for adding all kinds of toppings!
If your house tends to be on the cooler side, like mine, it may be tricky to get your yeast to activate and rise. I like to use metal bowls that have been gently pre-warmed by setting on my stovetop, especially for proofing the yeast (be sure things aren’t too warm though, as it can kill your yeast!). I also set my hot water kettle to serve 130-degree water, measure out the proofing liquid, and then mix it with the yeast for proofing when it is exactly 115 degrees. Once I’ve mixed up my dough, I set it either inside my oven on the lowest setting (around 100 degrees with the door slightly open) or on the stovetop, depending on how cool it is in my house.
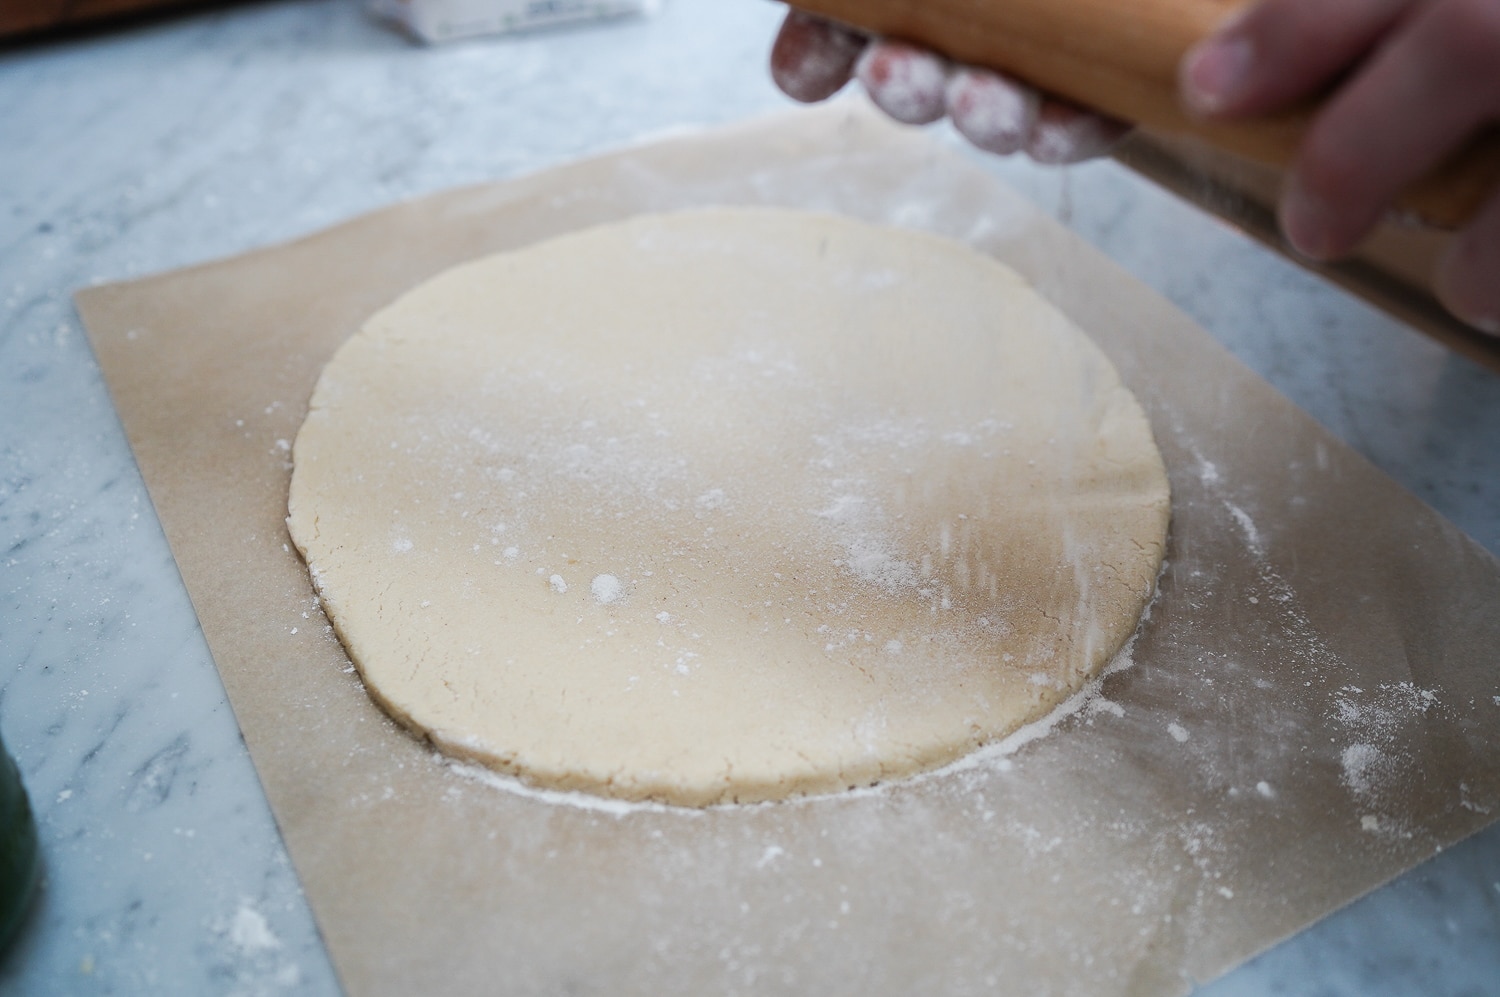
When working the dough, you’ll notice it is a little more on the wet side, but if you flour your hands and pin it will come together nicely.
To finish out your pizza AIP-style, I recommend using a base of Cilantro-Basil pesto (photographed here) or Nomato sauce (found in both The Autoimmune Paleo Cookbook and The Nutrient-Dense Kitchen) with some shredded meat and vegetables (shown here is red onions, salt-cured capers, roasted garlic, and mushrooms).
- 1 packet active dry yeast
- 1½ cups warm water, divided
- 1 tablespoon honey
- 2 cups cassava flour
- 1 cup tapioca starch
- 1½ teaspoons sea salt
- ⅔ cup olive oil
- First, proof the yeast by adding it to a small bowl with ½ cup of 115 degree water and honey. Give a quick whisk and set aside someplace warm for about 20 minutes. If your yeast is active, it will double in size and smell yeasty.
- Combine the cassava flour, tapioca starch and salt in a large bowl and stir to combine. Add the olive oil and 1 cup of warm water, along with the yeast mixture. Stir until combined into a slightly wet dough, gently forming into a ball with floured hands. Cover with a towel and set someplace warm (about 70-90 degrees is best) for about an hour to rise.
- Your dough should have risen a couple of inches, perhaps cracking and smelling yeasty. Carefully divide it into two portions, forming each into a puck and then rolling out each into an 11-inch pizza on a piece of parchment paper and adding additional cassava flour to the pin as needed.
- When ready to bake, preheat the oven to 500 degrees with a pizza stone or flat baking sheet inside.
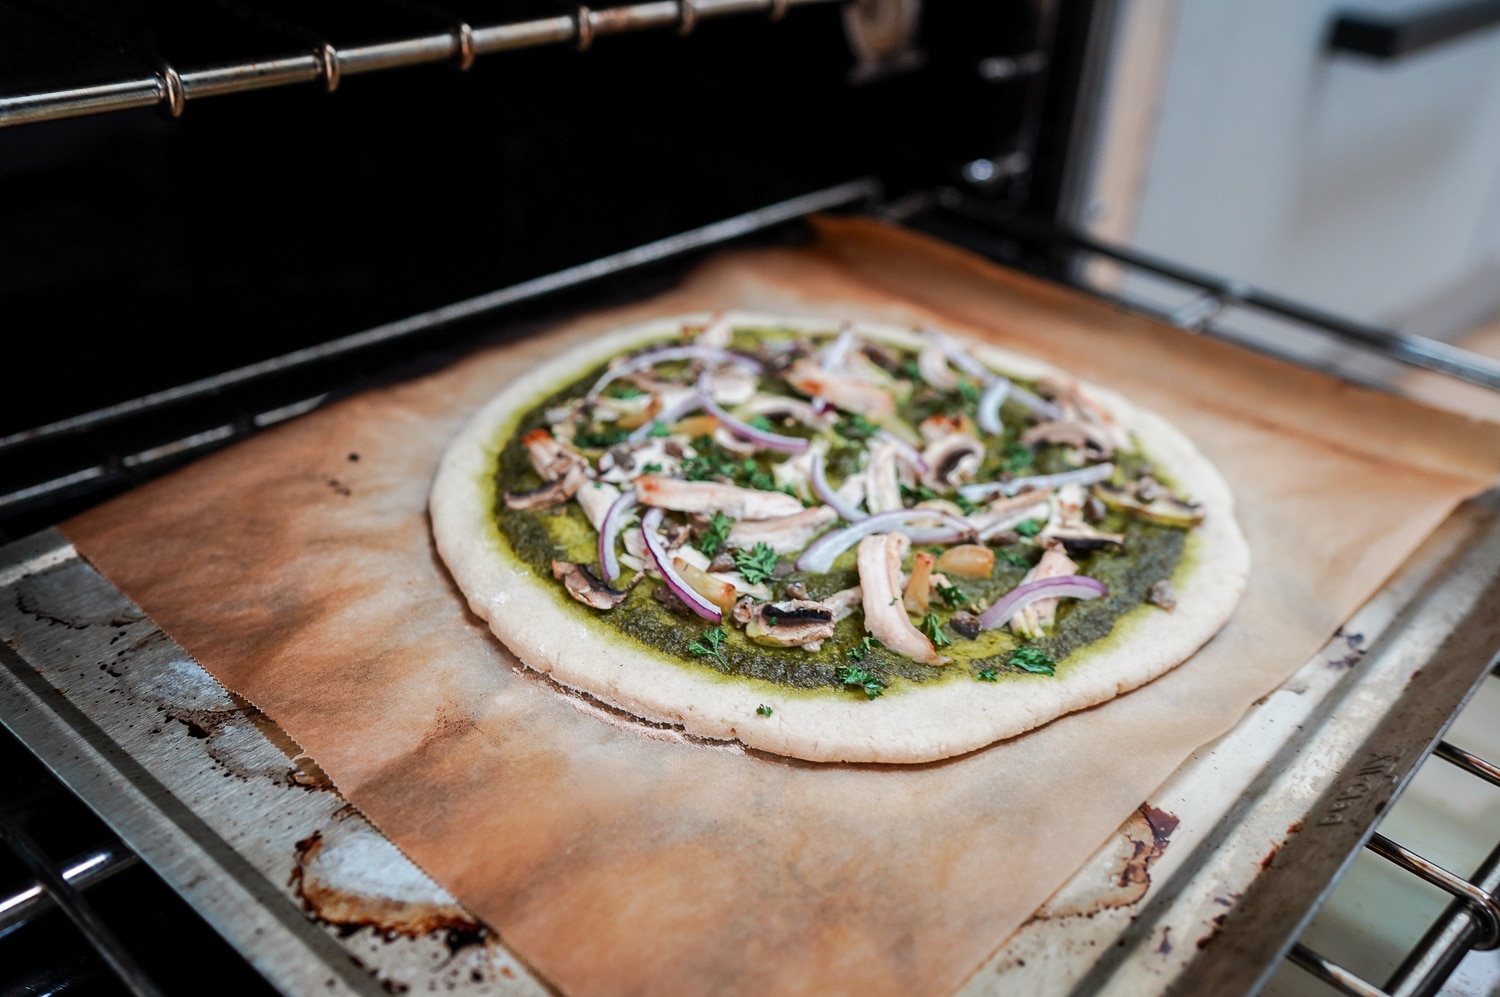
- While the oven and baking surface are pre-heating, top the pizza on a pice of parchment paper on a flat baking sheet. First apply your sauce, then meat and vegetable toppings.
- To cook, remove the pre-heated stone or sheet from the oven and quickly (and carefully!) slide the sheet of parchment with the pizza from one sheet to the pre-heated one. Cook for about 10 minutes, or until just browned on the bottom of the crust. Cool for a few minutes before enjoying.






44 comments
Just wondered if this pizza dough would be slimy because of the cassava flour. That’s the results I’ve had numerous times when I use cassava far. The only thing I’ve had luck with is the crackers I make with it. They are delicious.
Nancy, no, it is not slimy, check out the photo? Be sure not to overwork it.
Mickey, I was wondering if you have made this dough ahead of time? Does it hold in the refrigerator or freezer w/o alternating the yeast?
I have been hunting a dough that will give me that light yeasty taste & texture. I’m hoping this is the one. I’m gonna make this dough tomorrow. I’d love to know if I could make this ahead of time & freeze for future use.
Thank you!
Pam, I have never tried holding it, so I don’t have guidance for you – but please let me know if you try to keep it and what your results are!
Is there importance in using both cassava and tapioca. I have tapioca flour and I’m wondering if I could use 3 cups of that instead of the blend?
Hi Susanne! The texture of cassava and tapioca flours are different (tapioca is the starch only), so using them interchangeably won’t work here.
We followed everything in the recipe. Are these flour proportions really correct? My husband has made many doughs and he just kept yelling at me saying that it’s not a dough, it’s a pudding!
He ended up adding more of each flour to get to a dough consistency. I guess we’ll see if it works or not, I was just wondering if there might be a typo or something. I did see it, and his initial dough actually did seem pudding like.😯
Susanne, are you sure you used all the ingredients and followed the instructions as-written here? What you describe is not the texture of this dough – it comes together on the stiffer side. Could you have used a different flour or used all tapioca instead of cassava?
I’ve made this many times I never had trouble with a consistency. My latest batch I made into dumplings. I made the dough and then pinched off pieces and bake them at 400 until they were a golden brown around the edges. I keep them in the freezer and put a couple in soup when I heat myself a bowl. I make lots of soup and this is a delicious addition.
Such a great idea Terry!
I agree with Susanne. I’ve made this twice now and followed the recipe exactly. Each time the “dough” is more like pancake batter and I have to add more flour.
Are you sure you divided the water (1/2 c for the yeast, 1 cup for the dough) and not used the entire 1.5 c of water for the yeast plus 1 cup of water to the dough? I have made this twice and yeah, it’s rather thick. Definitely not pancake batter.
I too have pancake batter here, not pizza dough…I went back and rechecked every ingredient quantity on the recipe and am positive all was measured properly. I added almost another cup of the cassava and about 1/2-3/4 cup of tapioca flour to get to a slightly wet dough ball. We’ll see how it bakes up….I am going to par-bake so as not to have a gummy center, before I put toppings on.
I used Pamela’s cassava flour. I’ll be sure to buy Otto’s the next time!
Bit confused about the honey as this isn’t AIP friendly??
Hi Ryan! Honey is AIP-friendly.
Is it ok to use gluten-free corn flour? (And , generally , is it ok for us to bye gluten-free corn-products, like gluten-free bread?)
Hi Line! No, corn is not elimination-phase friendly and I have not tested it as an ingredient in this recipe, so if you are going to experiment, I have no idea how it will turn out for you!
Hi Mickey, I tired the recipe, and despite cooking it twice the given time, the inside wasn’t cooked. Any ideas what I did wrong? ~Della
Hi Della! Did you use all of the ingredients I called for in the recipe? Does your oven cook at temperature? I use an oven thermometer to be sure, as it can be hard to tell if your oven is accurate.
Following all the instructions precisely (I just substituted the honey with muscovado sugar), it worked perfectly! The taste is super close to a real pizza. The texture is a little chewy (as often with cassava) but got actually better for me when reheating cold pizza the next day.
Thanks for the awesome recipe and all the helpful work! 🙂
I’m really happy you loved it Claire!
I’ve found that different brands of cassava flour can yield very different results. I’ve even found that different lots of the same brand of cassava flour can also yield very different results – it’s almost like the “absorbancy” of the cassava flour can vary quite a bit where 1/2 cup of it from one lot will work great in a recipe, yet 1/2 cup from another lot will yield a soupy product and more flour will be needed. Do you have a preferred brand of cassava flour for your recipes?
Hi Tasha! I use Otto’s cassava flour, I find the texture to be fine and performance predictable. Give them a try!
Yum! I followed the directions as written and just love this recipe! How wonderful to have delicious pizza crust with a bit of chew! I’ll make this again for sure! Thank you!
I’m so happy you loved it Terry!
I cannot use cassava flour only coconut, arrowroot and almond flour do you have any recommendations on making pizza dough with these ingredients?
Hi Berta! I’m sorry, but those ingredients won’t substitute here. Your best bet is to try a different recipe!
A. Mazing. !!! I can’t wait for my next pizza night! I’ll let you know how the dough fares in the freezer:)
Freezing the uncooked dough works just fine!:):)
Thanks for the update Claire!
Thank you for looping back to let us know!
Hi there, wondering if the yeast is needed? Is there anything that it can be subbed with?
Hi Christine! Yes, it is necessary to help the dough rise.
This was surprisingly good!! I am new to AIP and have been sticking to basic foods, but this really opened the door to more options for me. Thank you!! Since it made two, I baked one without toppings and I’m going to try refrigerating and adding toppings later for another meal.
I’m happy you loved it Arianna!
Delicious! Easy! You just need to give yourself the lead time for rising. I divide the dough into four pieces, bake them all and freeze three. They freeze great! Sometimes I’ll add the toppings and bake then freeze. Also freezes great! I make this frequently. Thanks for a great recipe!
The dough was so wet, like pudding. Followed recipe exactly.
Ji, if the dough was that wet there must have been a mistake in measurement or ingredient choice. Sorry to hear!
Can I please confirm with you that yeast is allowed on AIP ? I am aware that nutritional yeast is allowed. Thank you.
Hi Belinda, yes pure yeast is included in the elimination phase.
I’m living in an Asian country right now where casava flour, Tapioca flour etc. Is all pretty easily available but in a wide variety of quality. Otto’s is just not existent here. That being said I still gave it a shot. The crust came out pretty gummy. But I also think I took it out a bit too early. I reheated it the next day on the stove with a bit of avacado oil and crispened the bottom and it that helped a lot! The crust was golden on the bottom and starting to get some color on the edges, but it just needed a bit longer. A more done crust is way better than an under done one.
Hi Lance! Yes, if you have a variable source of flour the texture might not be as reproducible. You might need to adjust the moisture levels to accommodate the grain of your flour. It sounds like with some experimentation you are on your way to success! Good luck!
Hi Mickey,
I think this recipe is fantastic. I did adjust a couple of things and it consistently turns out great. First, I use Anthony’s organic cassava flour, I use 2 1/4 tsp of yeast and 3/4 cup of warm water when mixing everything together. We live in Texas if that makes a difference. The dough is a great consistency when it is done resting and rising. Thank you for all the recipes that you have given us-they have made my life easier and tastier :).
Lori,
I am glad you enjoyed it! Thanks for sharing your modifications!