That being said, we only promote authors, products, and services that we use ourselves and wholeheartedly stand by. To learn more about how we earn money here on Autoimmune Wellness, head on over to our Promotional Policy.

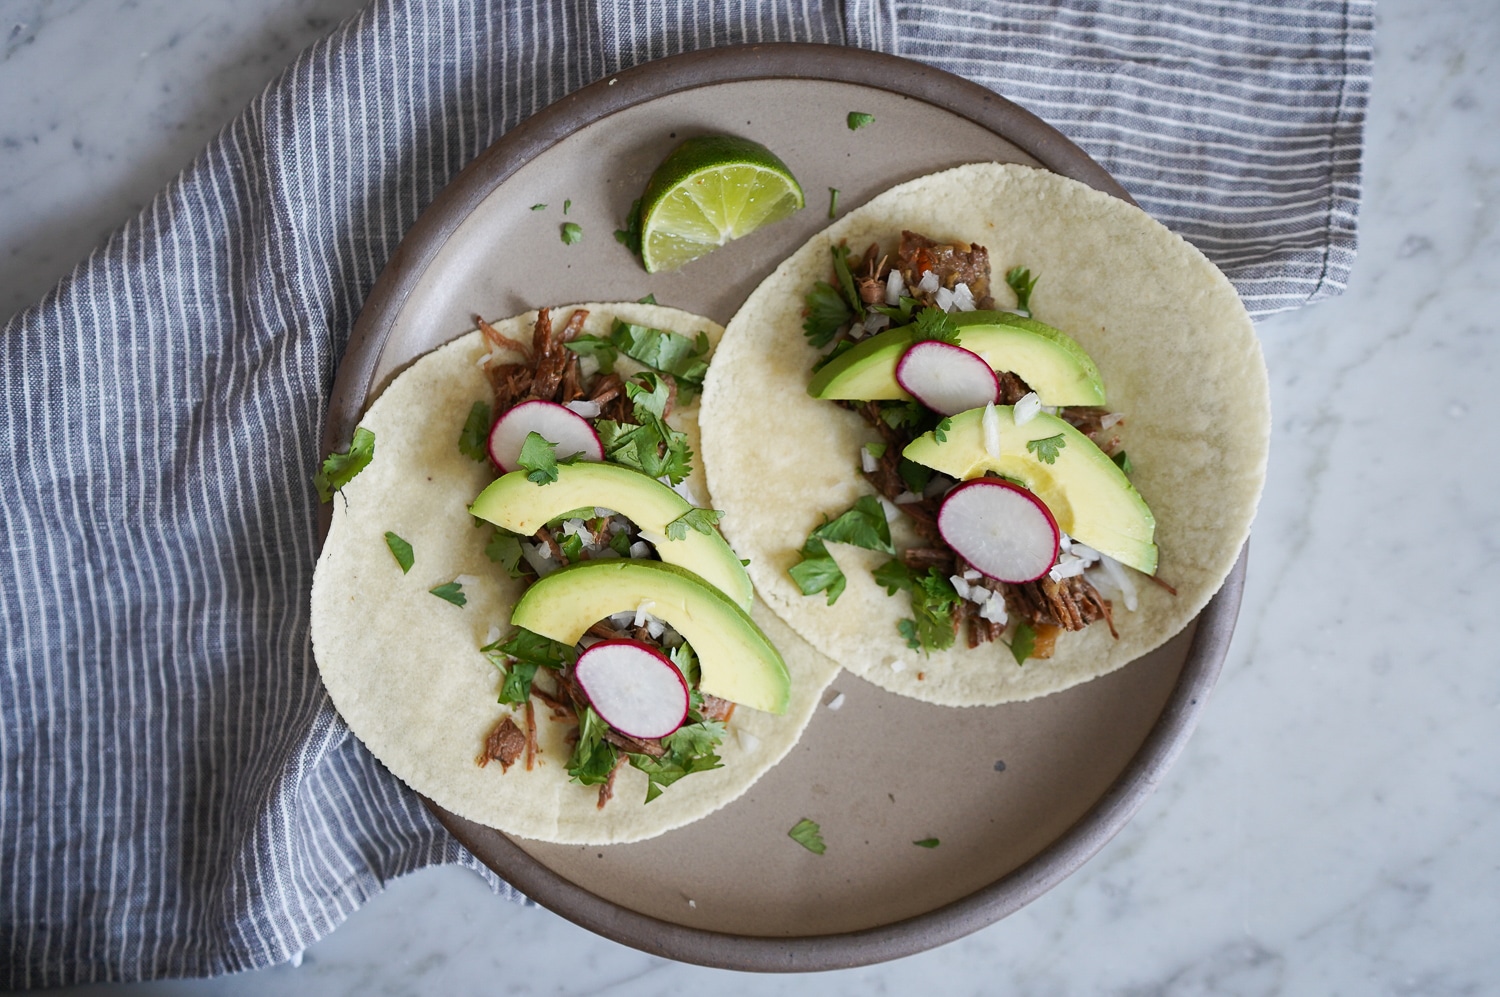
Even though I LOVE my Instant Pot, I have to admit it has taken me a while to figure out how to make a perfectly AND predictably tender batch of meat. I finally discovered that the common method of quickly depressurizing the Instant Pot can often cause meat to toughen up. Although allowing the pot to depressurize naturally takes an extra 30 minutes or so, it is well worth it if you are looking for a perfectly tender dish, like this barbacoa taco meat!
- 1 tablespoon solid cooking fat
- 1 yellow onion, diced
- 6 cloves garlic, minced
- 1 cup bone broth
- ½ cup fermented beets (AIP-friendly sauerkraut also works)
- 1 lemon, juiced
- ½ teaspoon molasses
- 2 teaspoons oregano
- 1 teaspoon sea salt
- 1 teaspoon garlic powder
- 1 teaspoon onion powder
- 1 bay leaf
- 3-4 lbs beef roast, chuck or shoulder, cut into 4-5 pieces
- Place the solid cooking fat in the bottom of the Instant Pot and press the Saute button. When the fat has melted and the pan is hot, add the onions, and cook, stirring occasionally, for 7 minutes, or until starting to brown. Add the garlic and cook for 30 seconds, until fragrant. Turn off the heat.
- Add the broth, ferments, lemon juice, molasses, and spices to the pot and stir to combine. Add the beef chunks and mix so coated with the mixture. Close and lock the lid and set on Manual - High Pressure for 60 minutes.
- When the timer goes off, press the Cancel button to turn the warming function off. Allow the Instant Pot to depressurize naturally (note, this takes about 30 minutes, but is essential to the meat coming out tender).
- When the Instant Pot has depressurized, carefully remove the lid and use a slotted spoon to transfer the meat chunks to a container. Press the Saute button to reduce the cooking liquid by ½-2/3, about 15 minutes. While the sauce is reducing, shred the beef.
- Once the sauce has reduced to the desired consistency, press the Cancel button to turn the Instant Pot off. Allow it to cool for a few minutes before adding to the shredded meat and serving.


7 comments
This look scrumptious! If one doesn’t have an instant pot, I imagine it would be fine cooked long and slow on the stovetop or in the oven in a dutch oven. Have you tried this?
Beth, you are correct, it could be cooked low and slow on the stovetop or oven. I would shoot for a bare simmer for 2-3 hours, making sure to check on the liquid as you will need quite a bit more than what I call for in the IP. Good luck!
I don’t have any molasses, is there a substitute I could use?
Hi Dave! Unfortunately I don’t have a good sub for molasses, but I think it would still turn out if you omitted it.
What can I use in place of the garlic and onion powders? I’m definitely a low-FODMAP woman, and these always upset my gut. Thanks.
Hi Moira! You can simply omit them. A trick that I sometimes use when actual onion and garlic are called for is to swap in celery. Good luck!
Hi,
Thank you for a good cooking tips and great recipe!
What kind of AIP taco shells would you recommend?