This post contains affiliate links. Click here to see what that means! That being said, we only promote authors, products, and services that we use ourselves and wholeheartedly stand by. To learn more about how we earn money here on Autoimmune Wellness, head on over to our Promotional Policy.
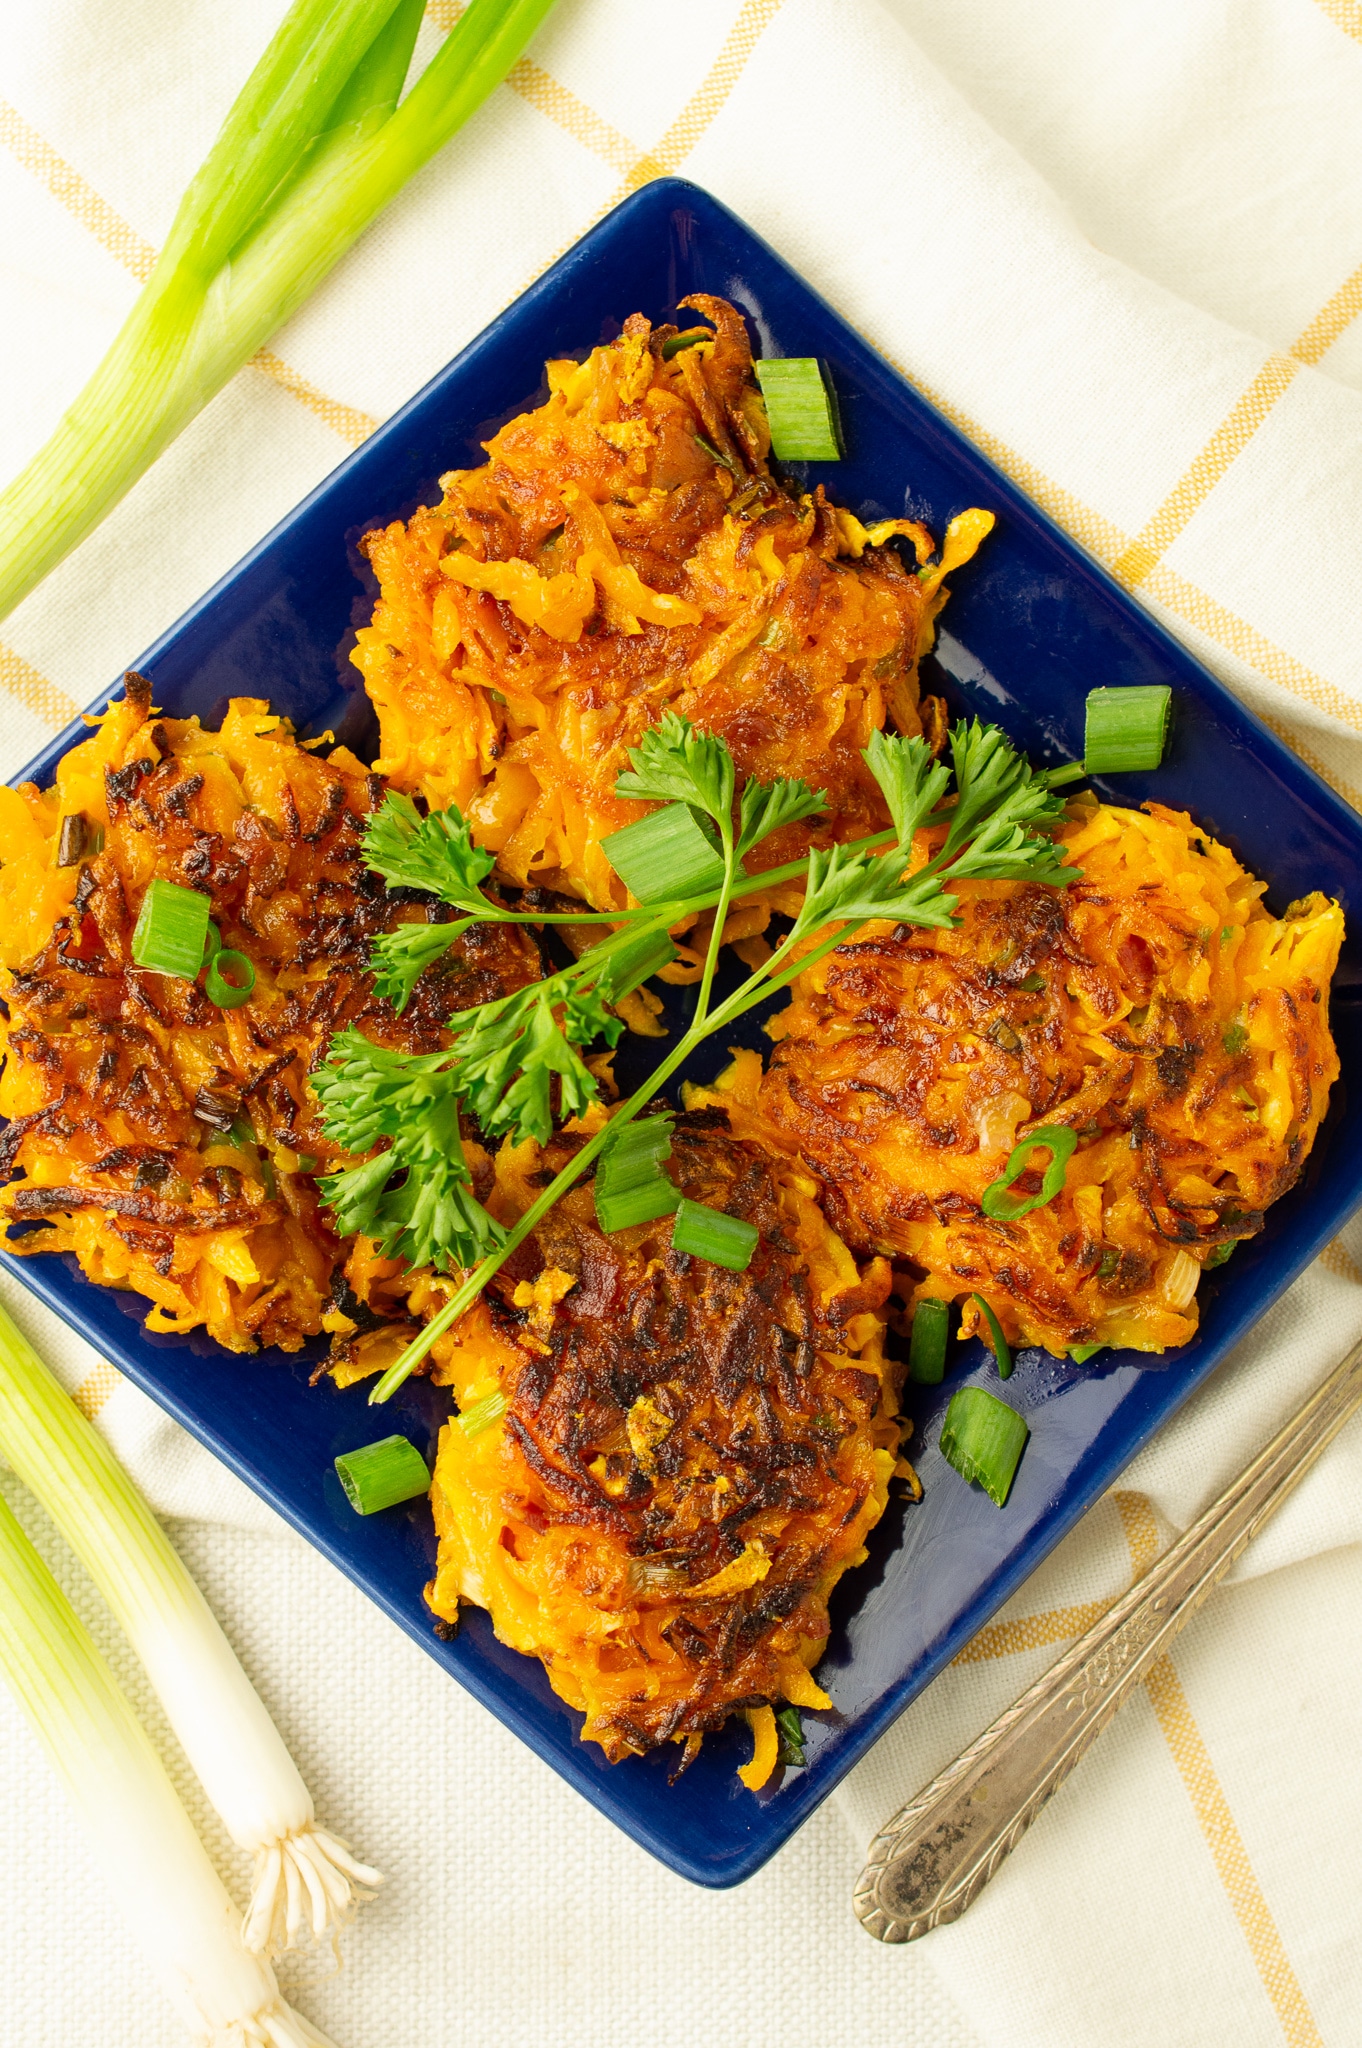
When I first began this new way of eating, breakfast required the biggest mental shift. What’s a girl to do without her scrambled eggs, or peanut butter toast?! If you find yourself in this position, I invite you to think differently. We eat the same ol’ breakfast because it’s what we know.
If you can shift your thinking about what constitutes a “normal” breakfast, you may be surprised by what you find. It can be comforting to have a nourishing soup for breakfast. It can feel like brunch if you have a salad. You might find that a hearty, veggie-heavy breakfast can sustain you better than pancakes. It just takes re-thinking what we’re used to.
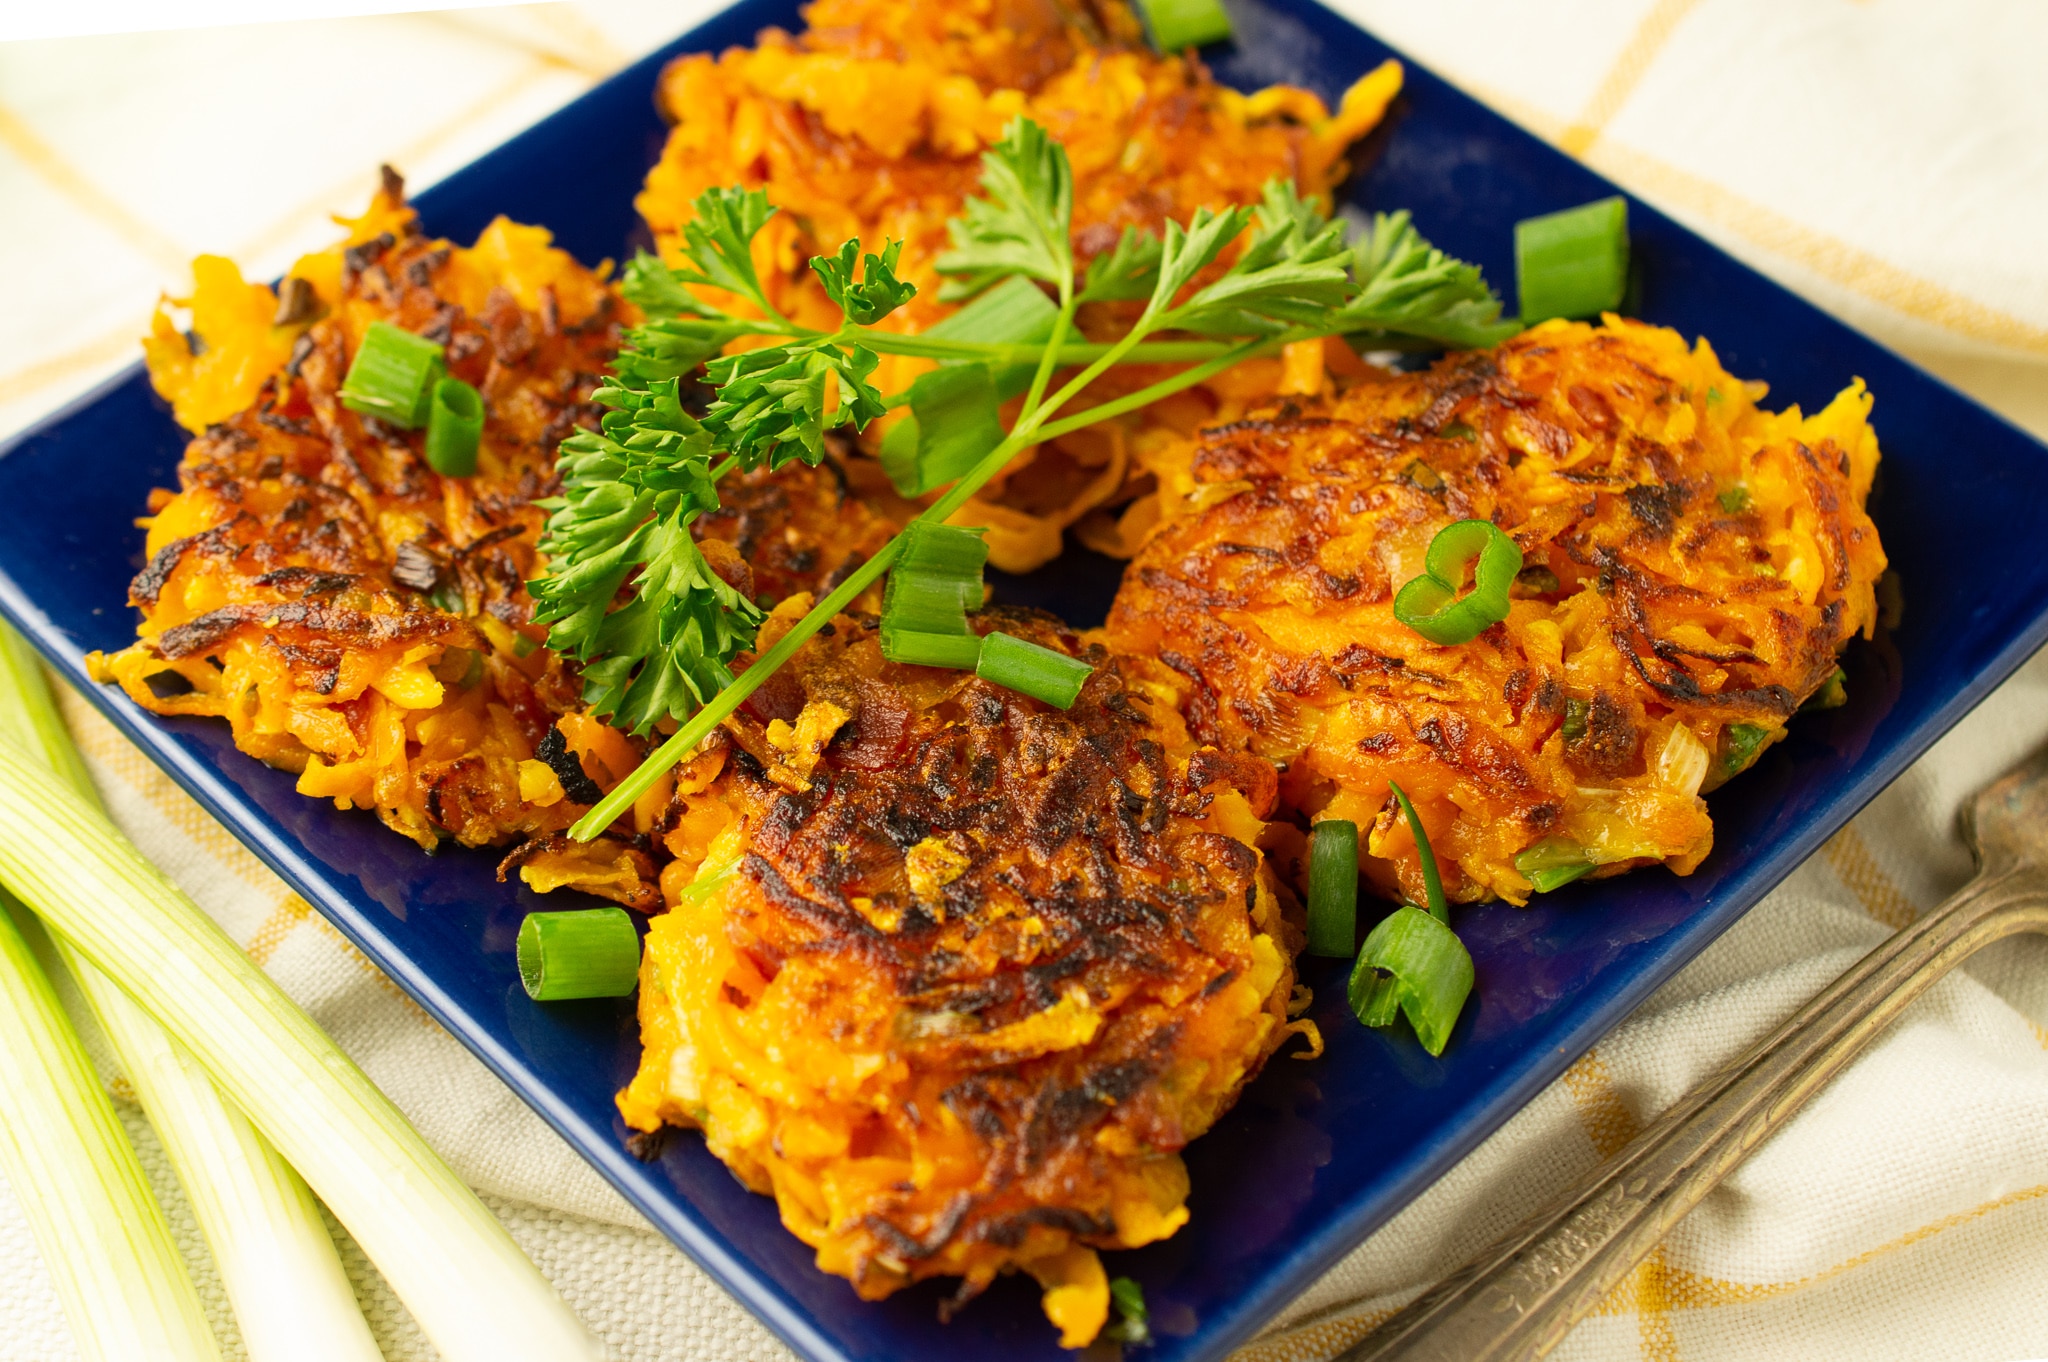
Butternut squash is a great base for browns. Add bacon, green onions and seasonings, and you’ve got the beginnings of a yummy breakfast! Top them with applesauce, sauerkraut, or if you’ve reintroduced it, a runny egg.
I have indicated squeezing the browns into four tight patties. They have a nasty habit of falling apart, so squeeze hard, and turn them only once while cooking. Alternately, you can leave them fluffy in the pan, and turn them (once) in sections.
Wishing you love and deep healing!
- 2 slices AIP-friendly bacon (I use Applegate)
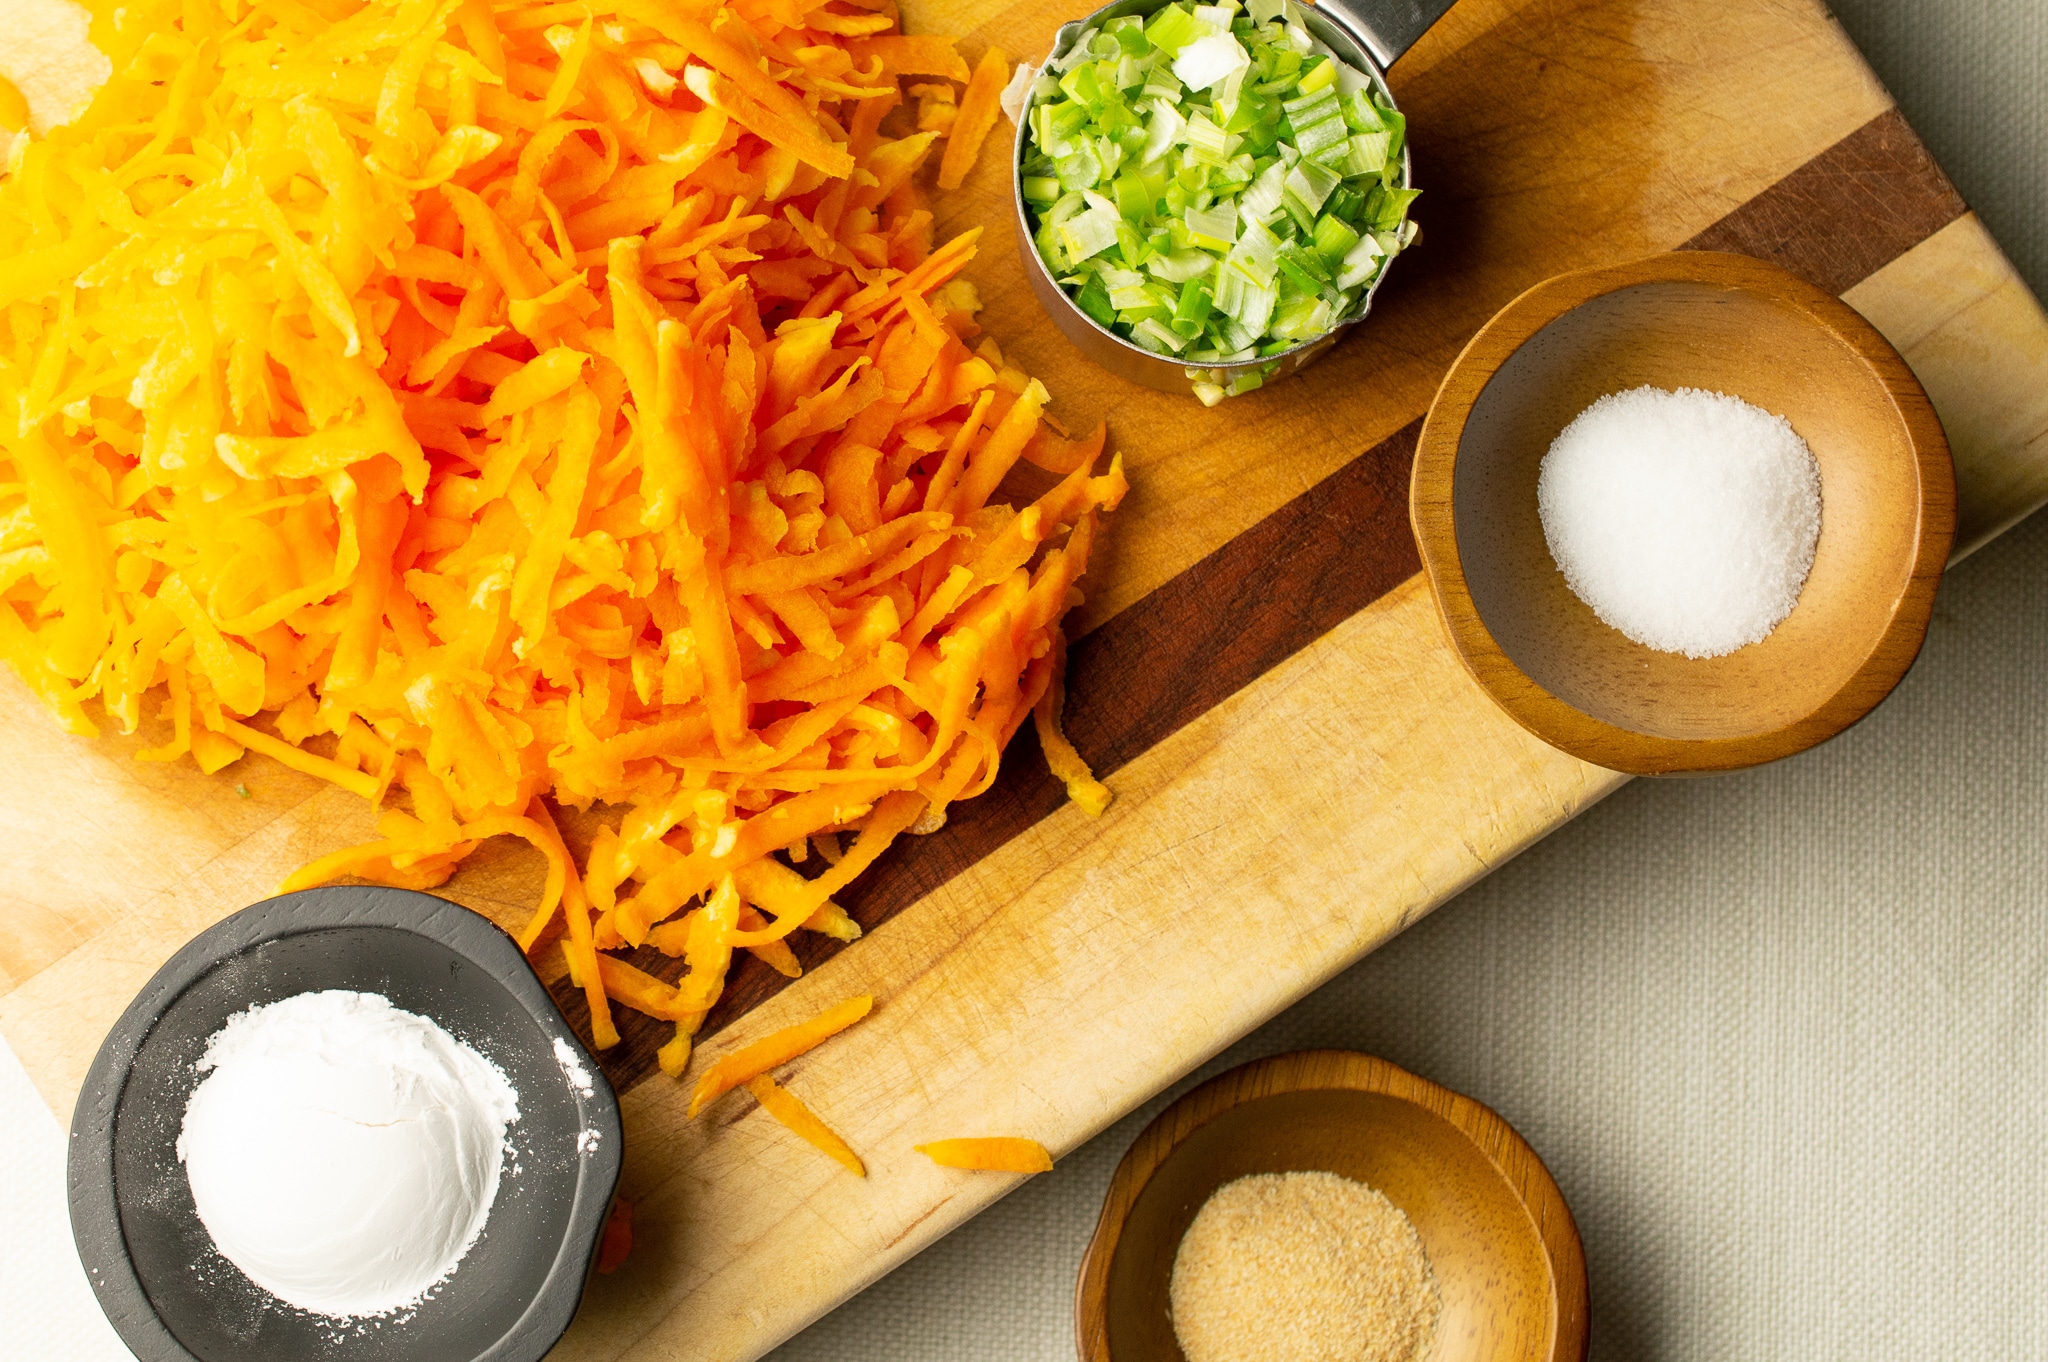
- 2 cups grated butternut squash
- ¼ cup finely chopped green onion
- 1 tablespoon arrowroot starch
- 1 teaspoon garlic powder
- ½ teaspoon sea salt
- Place bacon slices in a large fry pan over medium heat. While they begin to fry, place the rest of the ingredients in a mixing bowl.
- Keep checking your bacon and turning it until it is browned and crisp. Remove bacon to a paper towel-lined plate to cool. (Turn heat off while bacon cools.) Reserve bacon grease in the pan.
- When cooked bacon is cool enough to handle, crumble it into the mixing bowl. Stir all ingredients to combine.
- Turn heat under bacon grease to medium/medium high. Form squash mixture into 4 tight patties. Fry them in the bacon grease until browned on each side, about 4 minutes per side, turning only once. (Alternately, you can leave them fluffy in the pan instead of forming into patties, and turn once in sections.)











12 comments
Hello! Assuming you’re starting with a cooked butternut squash and grating a cooked butternut squash, not a fresh one. Is this accurate?
I too am assuming this is cooked squash right?
It’s raw
Can you make and freeze these for batch cooking? Breakfast is my hardest meal since an egg and dairy allergy and needing to cut sugar out of my diet.
was wondering the same thing??? But I think you would have said cooked. And can’t imagine grading a cooked squash.
I followed the recipe but they did not hold together at all. So I sauteed the mixture and served it with grain free pasta and called the dish ” butternut and bacon macaroni and “cheese”.” I will get back to you with the results. ( I made it for my daughter)
This didn’t work for me. Wondering if squeezing the shredded squash between paper towels to absorb most of the moisture would help?
This didn’t work for me either. They fell apart and I tried to sauté although it turned out very mushy. The taste was good if you don’t mind the mushy texture. I’ve enjoyed so many of the recipes on this site but this one was disappointing.
I added an egg to this recipe and due to issues with onions left out the garlic and onions. Added ground black pepper and these were a hit with my kids. The egg did well to hold it together. Thank you. I would have never thought of this.
I’m afraid this one is a bust. Without egg and more starch to hold these together they just fall apart in the pan. I squeezed them until water came out just as the directions say and even added a little more arrowroot. The taste was good but they turned into a greasy mess and stuck to the bottom of the skillet.
Great recipe, taste wonderful! I would suggest changing the directions to only use cast iron skillet and the temperature should be medium to medium low. I played around with it till it worked.
I grated the pumpkin and pressed out excess moisture between paper towel. I divided into balls and then pushed into a metal egg ring that helped it keeps its shape. Just needed to put a knife around inside of ring to release once cooked.
Tasty.